3. Printing To Windows PCs
3.1. Connecting To Windows
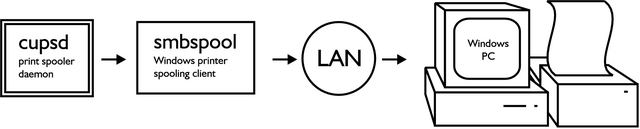
SMB and CIFS are the Windows file and printer sharing protocols. We use Samba to speak to the Windows PCs using these protocols. Before configuring CUPS we should make sure we can connect to the Windows PC with smbclient, the Samba SMB/CIFS client Figure 2.
The following is an example of creating a connection to a Windows PC:
/usr/bin/smbclient -L rice -U fred added interface ip=10.6.7.234 bcast=10.6.7.255 nmask=255.255.255.0 Got a positive name query response from 10.6.7.8 ( 10.6.7.8 ) Password: (not shown) Sharename Type Comment PRINTER$ Disk INKJET Printer STUFF Disk IPC$ IPC Remote Inter Process Communication |
The command shown asks for a list of shares on a Windows PC named "rice", with the user id "fred". The result shows a printer named "INKJET".
If Windows naming service is unavailable you will need to specify the IP address of the Windows PC with the -I switch as in:
/usr/bin/smbclient -I 10.6.7.8 -L rice -N |
For more information see the Samba documentation about smbclient usage.
3.2. CUPS Configuration
Once you have found a Windows printer you may configure CUPS. First verify that your installation of CUPS has the smb backend with the following command:
ls -l /usr/lib/cups/backend/smb |
If this file does not exist create it by issuing the following:
ln -s `which smbspool` /usr/lib/cups/backend/smb |
The following is an example of setting up the printer shown above. You will have to become root or use sudo to execute these commands:
/usr/sbin/lpadmin -p RicePrinter -v smb://fred:mypass@rice/INKJET -P /root/inkjet.ppd /usr/bin/enable RicePrinter /usr/sbin/accept RicePrinter /usr/sbin/lpadmin -d RicePrinter |
As mentioned above, bash has a builtin command called enable, so bash users must use the full path (/usr/bin/enable) to enable printers.
The "lpadmin" command sets up a the shared Windows printer by giving the username, password, netbios name and printer name as a single parameter. See Section 2.3 for a further explanation of the commands above.
Your printer is now ready to test. Send a file to the printer with the lp command followed by a filename, or by printing a document from within an application.